Today, I bring you another holiday candy recipe. These little morsels are known around my house as Martha Washington Balls. I don't know why they are called that... and Google was no help when I tried to figure it out. (I was also afraid of getting some NSFW results, but I was safe.)
Most of the recipes for Martha Washington Balls I found online involved coconut and pecans. My mom's version has neither of those things, but it does involve delicious peanut butter. I did find a few other people online making them with peanut butter, so who knows. It's a mystery...
Anyway, let's get to the yummy candy part. My recipe requires three things for the filling: powdered sugar, butter (softened), and peanut butter. Pull out your trusty mixer (a stand mixer if you have one) and combine these ingredients until they look like this:
Now it's time to make the balls. Roll the mixture into small balls and place on a cookie sheet or other flat surface covered in wax paper. (Feel free to add extra peanut butter if you're having trouble getting the balls to hold their form.)
Once you've gone balls out to create an army of balls, pop 'em in the freezer:
Let these freeze for thirty minutes. In the meantime, melt some chocolate chips on the stove. How much you need will depend on how thick you coat the balls. You may need to melt more chocolate halfway through - if so, you can always pop the balls back in the freezer while you do that. (My foolproof method? Chocolate chips and shortening in the double boiler. Don't judge. I grew up on shortening.)
Remove from the stove and get ready for the messy part...
Once your balls are frozen (hehe), you'll dip them in the chocolate one at a time, and then place on wax paper to cool. You'll have to play around (with the balls) a bit to find a method that works for you - you can use a candy spoon, but I generally use a slotted spoon or fork/spoon combo as I dip and shake off the excess chocolate. It's okay if they aren't perfect - they'll be yummy!
(If you want to neaten them up a bit, use a toothpick to draw a line between the ball and the excess chocolate on the wax paper. When you remove the balls later, the excess chocolate will remain on the paper instead of attached to the ball.)
Let the chocolate harden for a while - eventually it will be hard enough for you to transfer to storage containers lined with wax paper, using wax paper to divide the layers as well. If the chocolate remains tacky, you can stick the sheet of covered balls in the freezer to speed the process along. (A word to the wise - if your house is really warm, the chocolate will take a while to set.) Store refrigerated and enjoy, or divide into treat bags to give to friends and family.
When you care, give the gift of balls.
Martha Washington Balls
(Adapted from nowhere - they're mine!)
1 cup powdered sugar
3 tbsp. butter, softened
1/2 cup peanut butter
Chocolate chips (I prefer dark, but follow your bliss)
Shortening
Combine powdered sugar, butter, and peanut butter in mixer.
Roll mixture into balls and place on wax paper lined cookie sheets. (Make sure these will fit in your freezer.) Add extra peanut butter as needed to help the balls keep their shape.
Freeze balls for at least thirty minutes.
In the meantime, melt chocolate chips on stove with shortening. Use 1 tbsp. shortening for each cup of chocolate chips you melt. Once chocolate is melted, let it cool slightly.
Remove balls from freezer and dip in chocolate. Place on wax paper to harden (or transfer to freezer to speed the process along). Once hardened, transfer to storage containers lined with wax paper. Enjoy!
Makes 2 dozen... or more... or less... depending on how big your balls are. (I couldn't resist.)

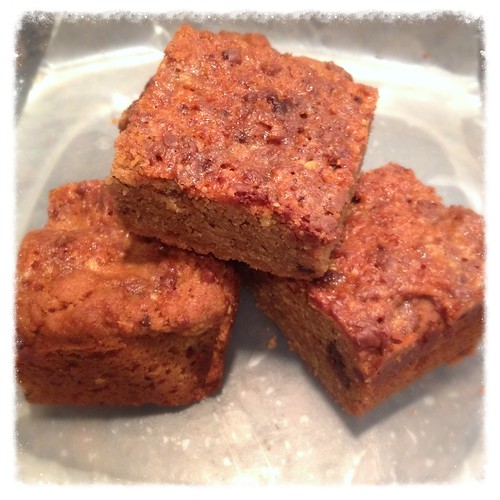
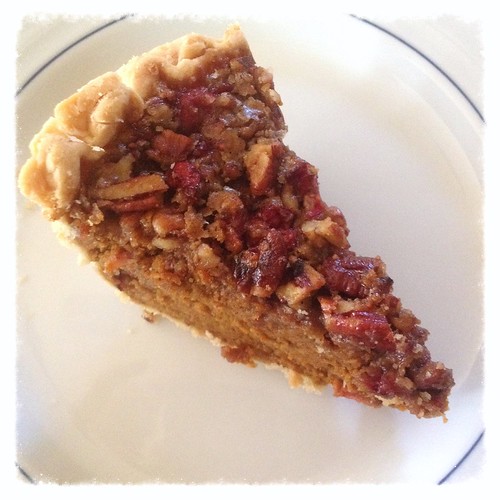
 This post is part of the Hey Love Designs Monthly Pinterest Challenge. I had both of these recipes on my Pinterest boards (here and here) just waiting to be tried. Here's hoping that this challenge will inspire me to try some new things and post on this blog more regularly!


